

You hear it before you see it, the steady drip from the kitchen faucet while the rest of the house is quiet. In a Macomb County kitchen, that small sound may come with a damp spot around the faucet base, a handle that feels stiff, or water pooling beneath the sink. The right approach to how to fix a kitchen faucet starts with diagnosis, not a quick trip to the hardware store.
A worn cartridge, O-ring, washer, or valve seat can cause an ordinary leak. Mineral buildup, supply-line sediment, or a failing shutoff valve can create similar symptoms and make the wrong replacement part ineffective. The following guidance applies to homeowners, landlords, property managers, and small businesses across Fraser, Sterling Heights, Clinton Township, Troy, Macomb, Shelby Township, and the wider Macomb, Oakland, and Wayne County service area.
Table of Contents
- Why a Dripping Faucet Needs Immediate Attention
- Identifying Your Faucet Type and Failure Points
- The Reliable Sequence for Replacing Worn Seals
- Diagnosing Low Flow and System-Level Sediment Issues
- When to Stop DIY and Call a Licensed Plumber
- Frequently Asked Questions About Kitchen Faucet Repair
Why a Dripping Faucet Needs Immediate Attention
A homeowner in Fraser might tolerate a faucet that drips into the sink during the day. The same homeowner may ignore a thin trail of water running down the faucet base and into the cabinet. Those problems look minor, but they deserve attention because the leak continues whether anyone is using the kitchen or not.
A faucet dripping once per second can waste more than 3,000 gallons of water a year, while average household leaks waste about 9,400 gallons annually, according to the figures referenced by this kitchen faucet leak guide. That makes faucet repair more than a cosmetic project. It's an early maintenance decision that protects water usage, cabinet materials, flooring, and the plumbing below the sink.
Practical rule: If you can hear the drip or see moisture around the base, arrange the repair before the leak spreads to the cabinet floor or nearby materials.
Water damage is where a small repair can become a larger property problem. The same reference reports that water-damage claims average $13,954, so a homeowner shouldn't compare a faucet repair only with the price of a replacement fixture. The sensible comparison is the cost of stopping the leak now versus dealing with damaged cabinetry, flooring, or remediation later.
That's especially relevant in rental properties and commercial kitchens. A landlord in Clinton Township or a restaurant manager in Sterling Heights may have multiple people using the fixture, which makes a slow leak harder to notice. Check the faucet base, supply connections, shutoff valves, and cabinet floor regularly, and call for leak detection if the visible source doesn't explain the moisture.
Identifying Your Faucet Type and Failure Points
Before buying a cartridge, identify the mechanism under the handle. Modern kitchen faucets often use one of four basic designs, and each one fails in a slightly different way. The modern single-handle mixing faucet traces back to 1945, when Landis H. Perry designed the first ball valve for faucets. A patent followed in 1952, and Alex Manoogian introduced the first Delta single-handle faucet in 1954. By 1958, Delta sales had topped $1 million, according to the history documented by Encyclopedia.com's faucet overview.
That history still affects today's kitchen plumbing. Many current fixtures use descendants of ball, cartridge, ceramic-disc, and compression mechanisms, so a repair often involves replacing a small internal part instead of removing the entire faucet.
| Faucet Type | Identifying Features | Common Wear Parts |
|---|---|---|
| Cartridge | Single handle that moves up and down and often side to side | Cartridge, O-rings, cartridge seals |
| Ball | Single handle connected to a rounded internal ball mechanism | Ball, springs, rubber seats, O-rings |
| Ceramic disc | Single handle with smooth, controlled movement | Ceramic discs, seals, inlet screens |
| Compression | Separate hot and cold handles that tighten down | Washers, valve seats, packing components |
A cartridge faucet commonly drips from the spout or leaks around the handle when the cartridge seal no longer closes tightly. A ball faucet may need new rubber seats and springs rather than a cartridge. Ceramic-disc models can resist ordinary wear, but sediment or scale on the discs can cause dripping, stiffness, or uneven temperature control.
Compression faucets are easier to recognize because each handle turns down against a washer. If the handle keeps getting tighter but the spout still drips, the washer or valve seat may be worn. Before disassembling an unfamiliar fixture, record the brand and model, photograph the handle and underside, and keep every retaining clip in order.
For a closer look at handle leaks and the parts that may be involved, review this guide to repairing a leaking faucet handle. Matching the replacement by appearance alone is risky. Take the old cartridge or seal to a plumbing supplier when possible, because similar-looking parts can have different lengths, tabs, or alignment slots.
The Reliable Sequence for Replacing Worn Seals
A successful repair begins under the sink, not at the handle. Clear the cabinet, place a towel or shallow container below the connections, and keep a small flashlight nearby. Shut off both the hot and cold supply valves, then open the faucet to relieve pressure and drain residual water from the lines.
Protect the drain before removing screws or clips. A folded towel over the drain opening prevents small parts from disappearing, while a labeled container keeps the handle screw, retaining clip, and packing nut together.
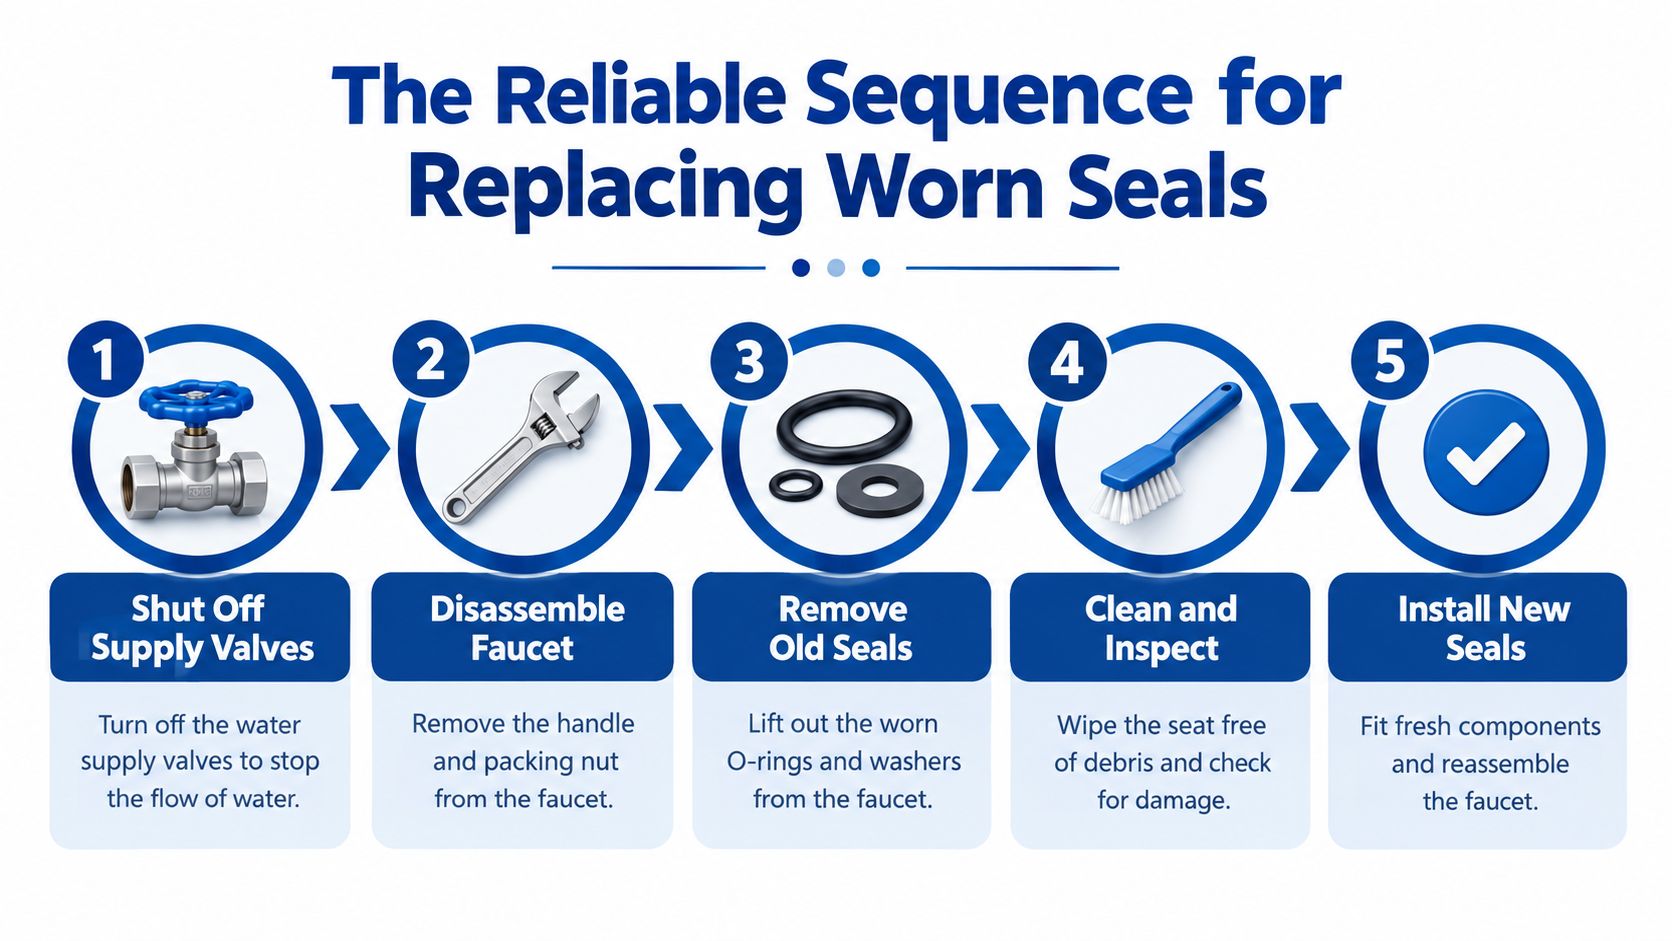
Remove the decorative cap or set screw carefully, then lift off the handle. Some faucets use a hex screw, while others hide the fastener beneath a temperature indicator. Once the handle is off, identify the retaining nut, clip, or collar holding the cartridge or ball assembly in place.
Pull the worn component straight out when the design allows it. A cartridge may be stuck by mineral buildup, so gentle, even movement is safer than twisting aggressively with pliers. If the part won't release, stop before damaging the faucet body or cracking the sink deck.
Clean the exposed cavity and valve seat before installing the replacement. Wipe away scale and debris, lubricate compatible O-rings with the manufacturer-approved plumbing lubricant, and compare the old and new parts side by side. The replacement must match the original size and orientation.
A new cartridge can still leak if its tabs or ports aren't aligned with the faucet body.
Install the cartridge, washer, O-ring, ceramic-disc component, or ball assembly in the exact position required by the manufacturer. Reinstall the retaining hardware without forcing it. Over-tightening a packing nut can distort a seal, while under-tightening may leave the assembly loose.
Turn the supply valves on slowly and inspect the handle, spout, base, and supply connections. Operate hot and cold settings, check for smooth movement, and dry the cabinet so any new moisture is easy to identify. The repair sequence described by Kohler's leaky faucet instructions emphasizes shutting off supplies, relieving pressure, protecting the drain, using exact replacement parts, and avoiding cartridge misalignment or excessive tightening.
Diagnosing Low Flow and System-Level Sediment Issues
A sputtering faucet doesn't automatically need a new cartridge. In Macomb and Oakland County homes, mineral buildup can collect at the aerator, inside inlet screens, or along supply connections. That restriction can produce weak flow, uneven spray, or temperature changes that resemble an internal valve failure.
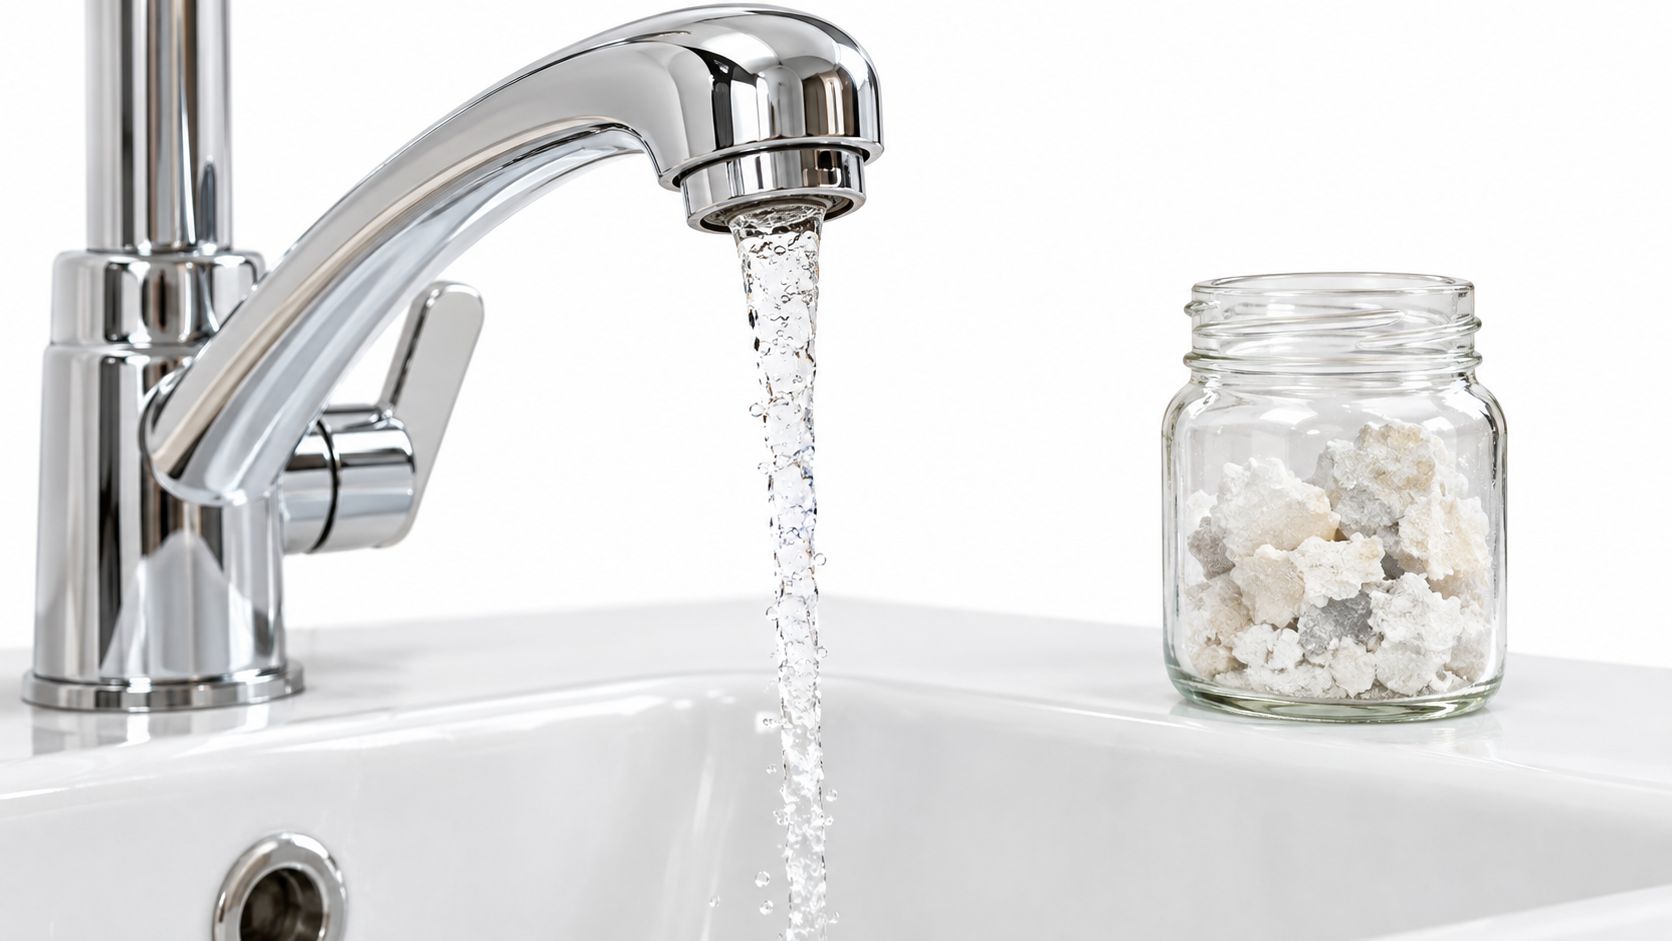
Start with the aerator at the end of the spout. Remove it carefully, noting the order of the screen, washer, and insert. Rinse away loose debris, brush off scale, and inspect the screen for packed mineral deposits. Efficient kitchen aerators are generally 1.8 GPM or less, while standard models are often about 2.2 GPM, as outlined in this kitchen aerator reference. A clogged screen can reduce rinse force enough to make a healthy cartridge look defective.
Separate faucet trouble from supply trouble
Run the faucet briefly with the aerator removed. If flow improves, clean or replace the aerator rather than opening the cartridge. If both hot and cold flow are weak, inspect the shutoff valves and supply lines. A partially closed valve, blocked connector screen, or sediment inside the line can affect the faucet from outside the fixture.
If only hot or only cold water is restricted, the problem may be on that side of the supply. If the faucet works normally at other fixtures but not in the kitchen, the restriction is more likely local. If several fixtures have low pressure, a cartridge swap probably won't solve the system-level problem.
Use caution when flushing lines. Keep the faucet outlet directed into a container, open the supply gradually, and stop if the shutoff valve leaks or won't close. Persistent sediment may call for broader plumbing inspection, water treatment review, or targeted cleaning such as hydro jetting for plumbing lines, where the line and material are appropriate for that method.
This video can help you visualize the diagnostic process, but it doesn't replace checking your specific faucet model and supply arrangement.
When to Stop DIY and Call a Licensed Plumber
A straightforward cartridge or aerator repair is reasonable for a confident homeowner who can shut off the water and identify the correct part. The trade-off changes when the shutoff valve is corroded, the supply connector is seized, or the faucet base moves against the sink deck. Forcing those connections can turn a fixture repair into a supply-line or cabinet leak.
Call a plumber when:
- The shutoff valve won't close: Water may continue feeding the faucet while you work.
- The leak appears below the connections: Moisture from a wall, cabinet side, or supply line needs a broader inspection.
- The faucet base stays wet: A base leak may involve seals, mounting hardware, the sink deck, or the flexible supply lines.
- The handle remains stiff after cleaning: The cartridge or valve body may be damaged, not merely dirty.
- Several fixtures have weak flow: A system pressure or sediment issue needs diagnosis beyond the faucet.
A single-handle cartridge replacement commonly takes 30 to 60 minutes and generally remains in the low-cost parts range, according to repair guidance on faucet replacement decisions. That doesn't mean every call takes that long. Corrosion, seized parts, unusual faucet designs, and hidden leaks can extend the work.
Jays Plumbing and Sewer handles faucet inspection and repair alongside leak detection, drain cleaning, sewer repair, water heater repair, water heater replacement, pipe repair, garbage disposal repair, sump pump repair, bathroom plumbing, residential plumbing, and commercial plumbing. For urgent leaks, 24/7 emergency plumbing service is the appropriate option when shutting off the water doesn't control the problem.
Frequently Asked Questions About Kitchen Faucet Repair
Is a leaking faucet usually a cartridge problem?
Not always. A leaking kitchen faucet most commonly has a worn washer, O-ring, or cartridge seal that has cracked, dried out, or deteriorated. Water may escape from the spout, handle, or faucet base, while the supply lines remain dry, as explained by this faucet repair reference. The leak location and faucet type matter more than the brand name alone.
Should I repair or replace the whole faucet?
Repair makes sense when the faucet body is sound, replacement parts are available, and the problem is limited to internal wear. Replacement may be more practical when the body is cracked, the finish is badly corroded, the mounting area is damaged, or repeated repairs haven't restored reliable operation. A plumber can compare the fixture condition with the cost and availability of the correct parts.
Can Michigan winters cause kitchen faucet problems?
Yes, cold weather can affect exposed or poorly protected supply piping, especially in unheated spaces. Frozen pipes can restrict flow or split when water expands, so a sudden loss of kitchen water during a freeze deserves prompt attention. Don't apply an open flame. Shut off the affected supply if you can do so safely and call for professional help.
What if the faucet is still stiff after cleaning?
A stiff handle may indicate scale inside the valve, a misaligned cartridge, damaged seals, or a failing valve body. Don't keep forcing it, because excessive pressure can damage the handle or internal parts. Have the mechanism identified before buying another replacement.
Whether you're in Troy, Shelby Township, Fraser, Macomb, Wayne County, or elsewhere in Southeast Michigan, a proper diagnosis prevents a cheap part swap from becoming a repeat repair. Property managers and commercial owners should also address recurring faucet issues promptly, especially when heavy rain, basement flooding, or other plumbing problems are already putting pressure on building maintenance.
Call Jay's Plumbing and Sewer at 586-634-3450 for kitchen faucet inspection, leak repair, and practical advice when low flow or sediment points to a larger plumbing issue. The team serves residential and commercial customers across Macomb, Oakland, and Wayne counties, and you can also visit Jays Plumbing and Sewer to schedule service or request an estimate.
